
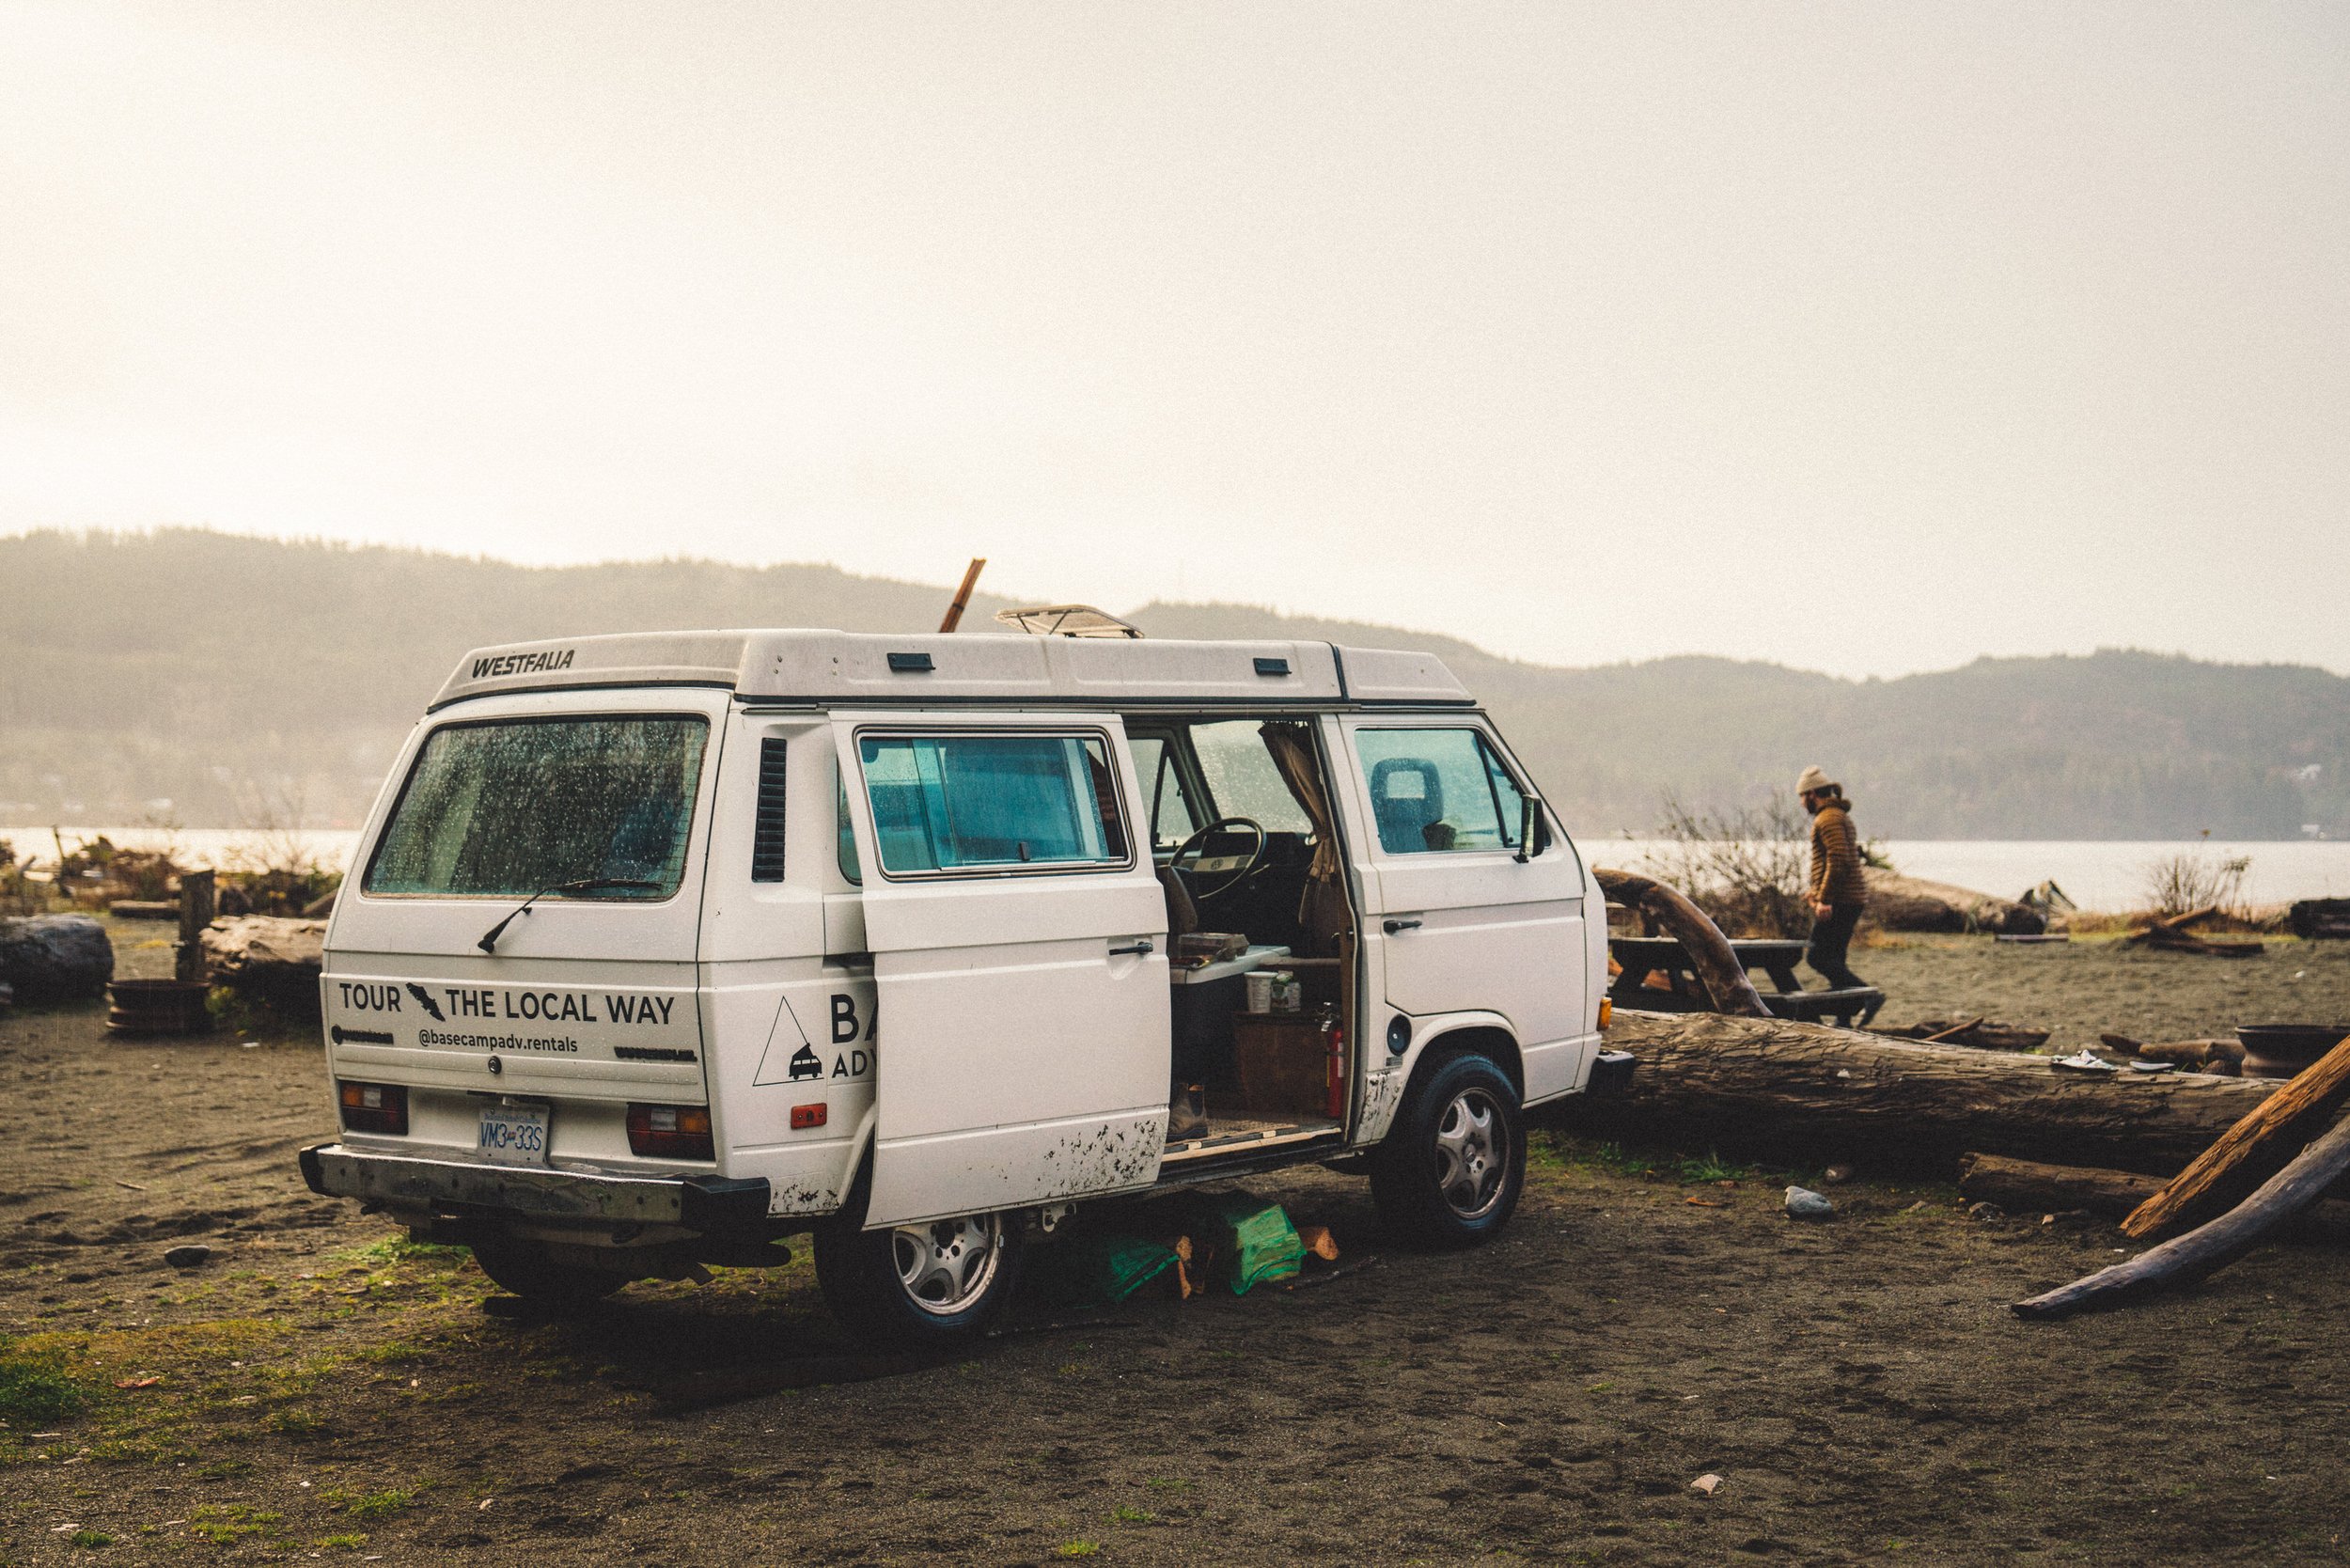
THE WESTFALIAS
These vans let you experience the great outdoors in comfort and convenience. Each van will suit your needs, whether you want to visit the mountains, the beach, or the city. Each van is equipped to comfortably fit four. Here are some details about each van, along with pictures and tips on how to use them. We also provide a tote with everything you need to cook and make coffee, so you can enjoy your trip even more. All details below!


“COCOA PUFF”
Introducing Cocoa Puff, the retro-chic Westfalia with a zest for the wild and a soul rich in tales. With a legendary pop-top and a vintage cabin, Cocoa Puff beckons you to the untamed expanses, promising a throwback vibe on wheels. Gear up for a groovy journey along the shoreline or a bold escapade amidst the peaks—Cocoa Puff is your fearless chariot, steering you towards the next epic exploit.


“NORTH”
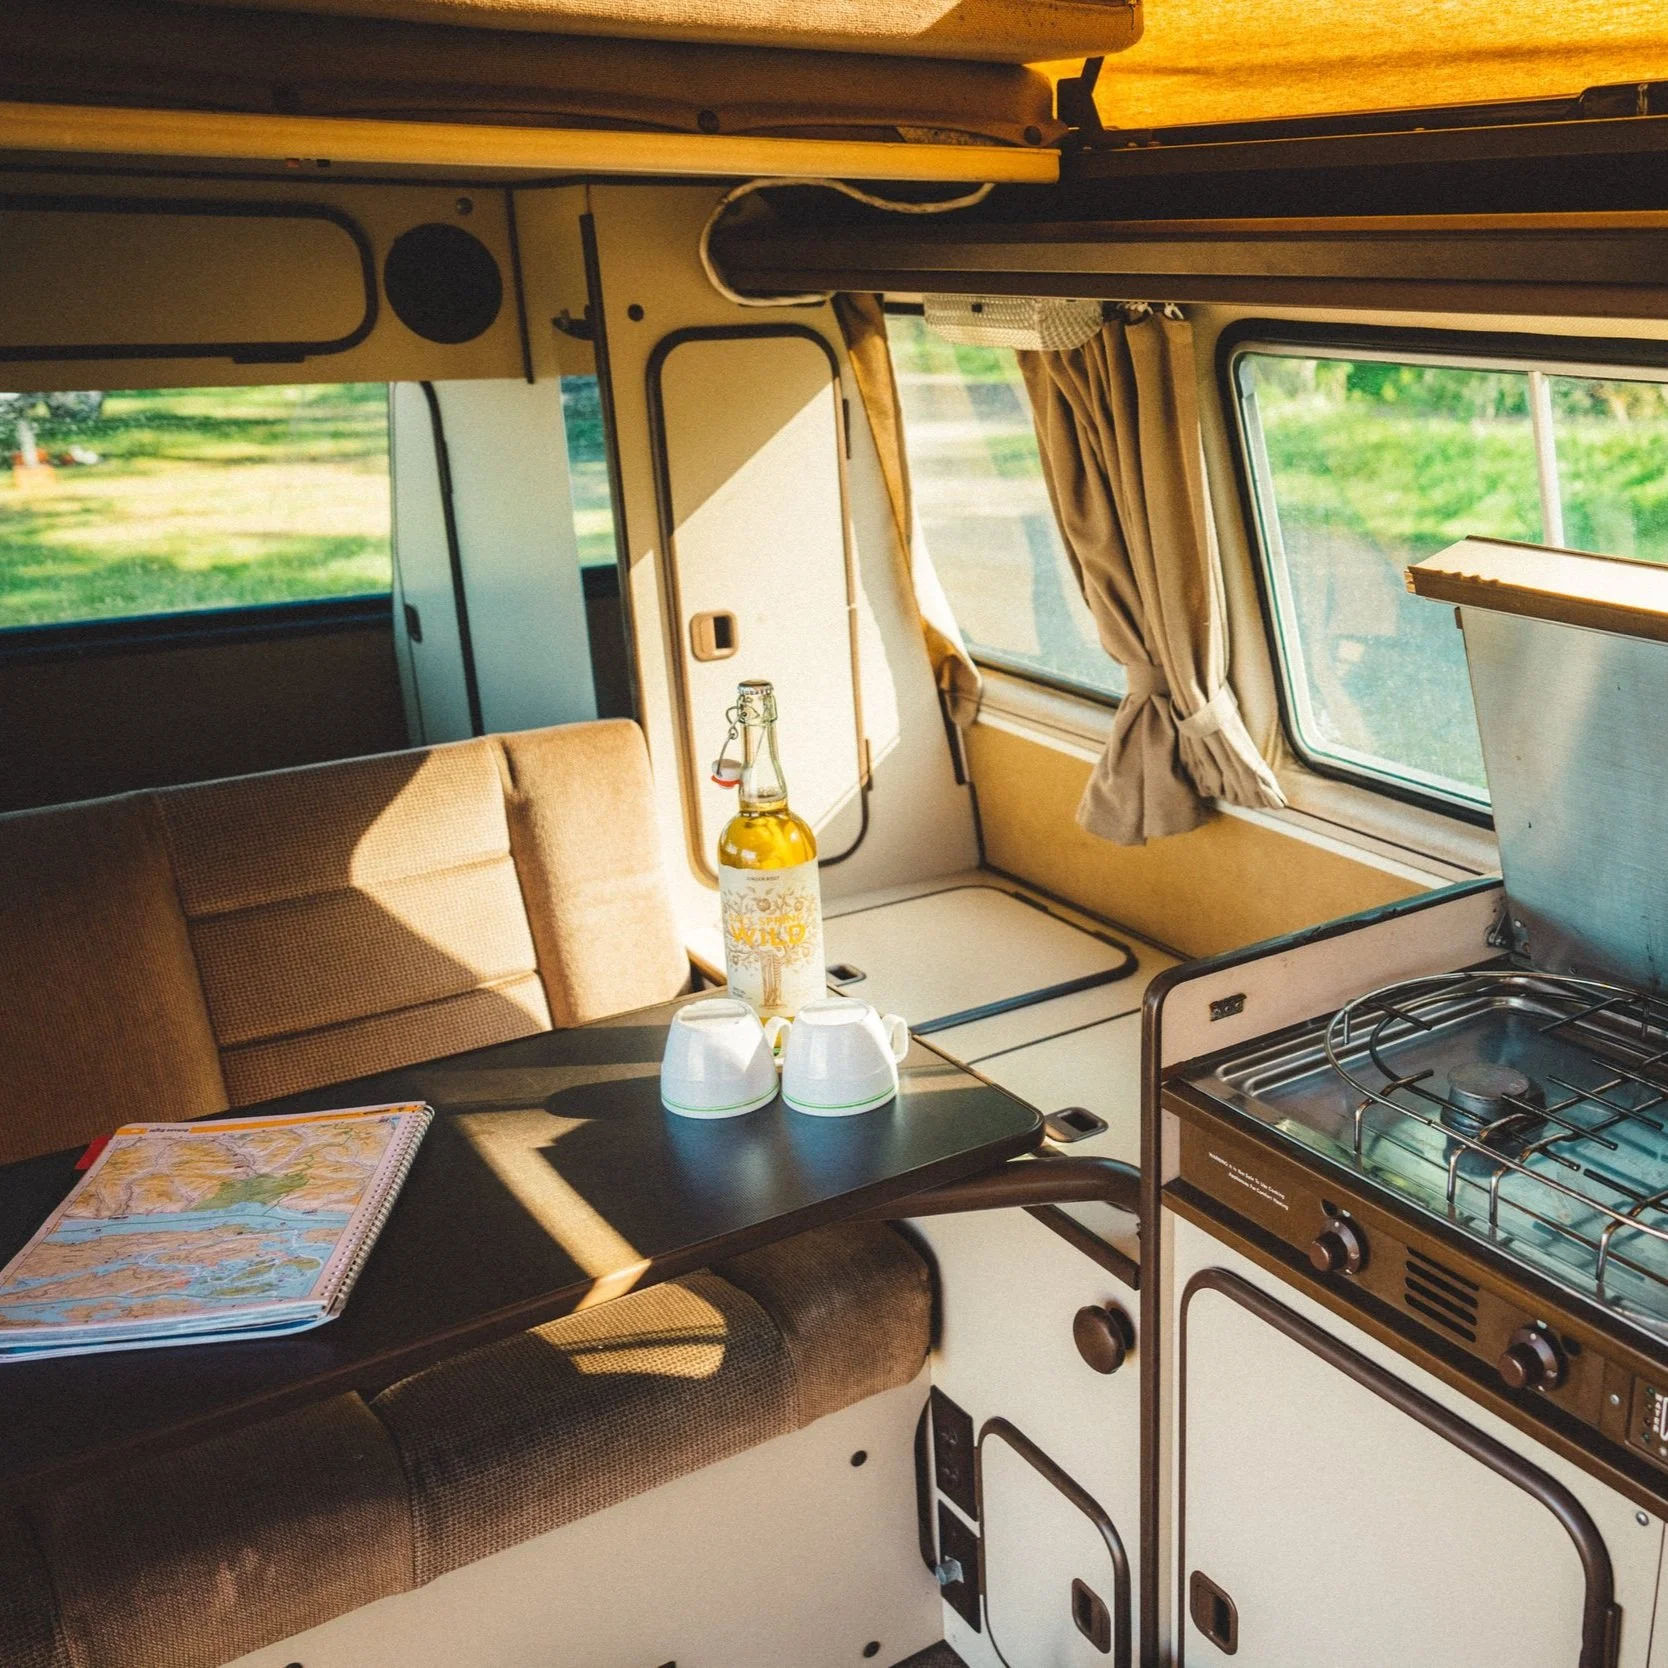
Meet North, the vintage (but aesthetic) Westfalia van with a spirit of adventure and a heart full of stories. With an iconic pop-up roof and cozy interior, North invites you to explore the great outdoors while offering a nostalgic retreat. Whether it's a scenic drive along the coast or a camping trip in the mountains, North is your trusty steed, ready to guide you to your next adventure.
USING YOUR VAN
-
Full tank of propane
Full tank of fresh water - 14 gallons
Cooking / eating utensils (pots, pans, plates, cups, silverware)
Bedding (choice of blankets or sleeping bags) and Towels
Kettle and French coffee press
Hand towels
Cleaning supplies
1 roll of toilet paper
1 roll of paper towel
Fire extinguisher and first aid kit
If you are looking for certain items or gear please let us know and we will do our best to make the necessary arrangements!
-
It's a journey that takes you back in time, to when things were simpler and slower. You'll enjoy the scenery and the adventure at a leisurely pace. These vehicles are 30 years old, so they have their quirks and limitations. Both vans are automatic! Don't try to go faster than 80-100kmh on the highway. You'll be safer and happier. Brakes are not as good as new cars, so leave enough space to stop. But don't let these challenges stop you from having fun. A Westy is an experience you'll never forget.
-
All vans come with small appliances to improve everyday comforts while adventuring. We provide a detailed operation explanation during the van walk-through before each trip but occasionally with all of the excitement people can mix up the procedural steps. To help with possible confusion we've outlined below the simple step-by-step sequence for using each appliance.
FRIDGE:
For insurance purposes we advise renters to run the refrigerators from the 12V camping battery.
Open fridge.
See dial cluster at uppermost section of fridge.
Press Power Source switch to the BATTERY ICON.
Adjust Temperature Control dial to desired level.
STOVE:
Turn Propane dial Left to Open (Located Drivers-side, below trim).
Open stove cover.
Turn stove dial located directly below to IGNITE ICON.
Light desired burner with provided BBQ lighter.
Adjust flame strength using aforementioned stove dial.
SINK:
There are 2 types of sink faucets your van could be equipped with; both will provide water by either;
Twist dial on neck of a black faucet.
Press button beside silver faucet.
-
Fuses will occasionally break from an unexpected electrical surge. If this occurs you may lose power to accessory electrical functions such as radio, windshield wipers, or sink pump. Should this occur:
One fuse panel in Westfalia Vanagons is located left of the steering wheel below the dash on the drivers side of the van.
Additional Fuses are located under the Driver Seat.
You can identify a broken fuse by checking the integrity of the metal wire/strip. If the metal is broken, then so is the fuse.
Replacement fuses are located in the glove box.
-
These classic camper vans are vintage and require different maintenance than the average vehicle. There will be some things you will need to check manually.
OIL:
We please ask you check the level of engine Oil daily.
Open license plate.
Locate Oil Dip Stick.
Remove and inspect level.
If Oil level is below required height:
Replace Dip Stick, Remove Oil Cap ( ICON )
Take provided Oil Funnel
Pour 1-glug
Check Oil Dip Stick.
Repeat until required height reached.
COOLANT:
Over long multi-week trips the Coolant level may begin to dip as the engine works hard to stay cool on hot summer days. Check coolant level by:
Open engine bay cover.
Locate Coolant Tank (Blue Cap).
If Coolant height is below Required Height:
Wait until engine is cold.
Unscrew Blue Cap.
Fill coolant tank to Max line with provided Coolant.
Replace cap.
GAS:
No Diesel.
91-Octane gasoline only please.
-
Each van comes equipped with 2 separate batteries. The primary battery is used for driving, while the secondary (or camping) battery is used for interior appliances and accessory electrical functions such as cabin lighting. People find all sorts of ways to kill batteries, here is how to bring them back to life.
PRIMARY BATTERY:
Driving battery is located under the passenger seat.
Use provided Jumper Cables to recharge the battery by;
Connect RED cable-lead to the positive (+) battery terminal of dead battery.
Connect RED cable-lead to the positive (+) battery terminal of saviour battery.
Connect BLACK cable-lead to an unpainted metal surface on the van.
Connect BLACK cable-lead to the negative ( - ) battery terminal on saviour battery.
Turn on saviour car and let battery charge for a few moments, then turn on van.
SECONDARY (CAMPING) BATTERY:
Will recharge if you drive the van.


